
Pottery at Home
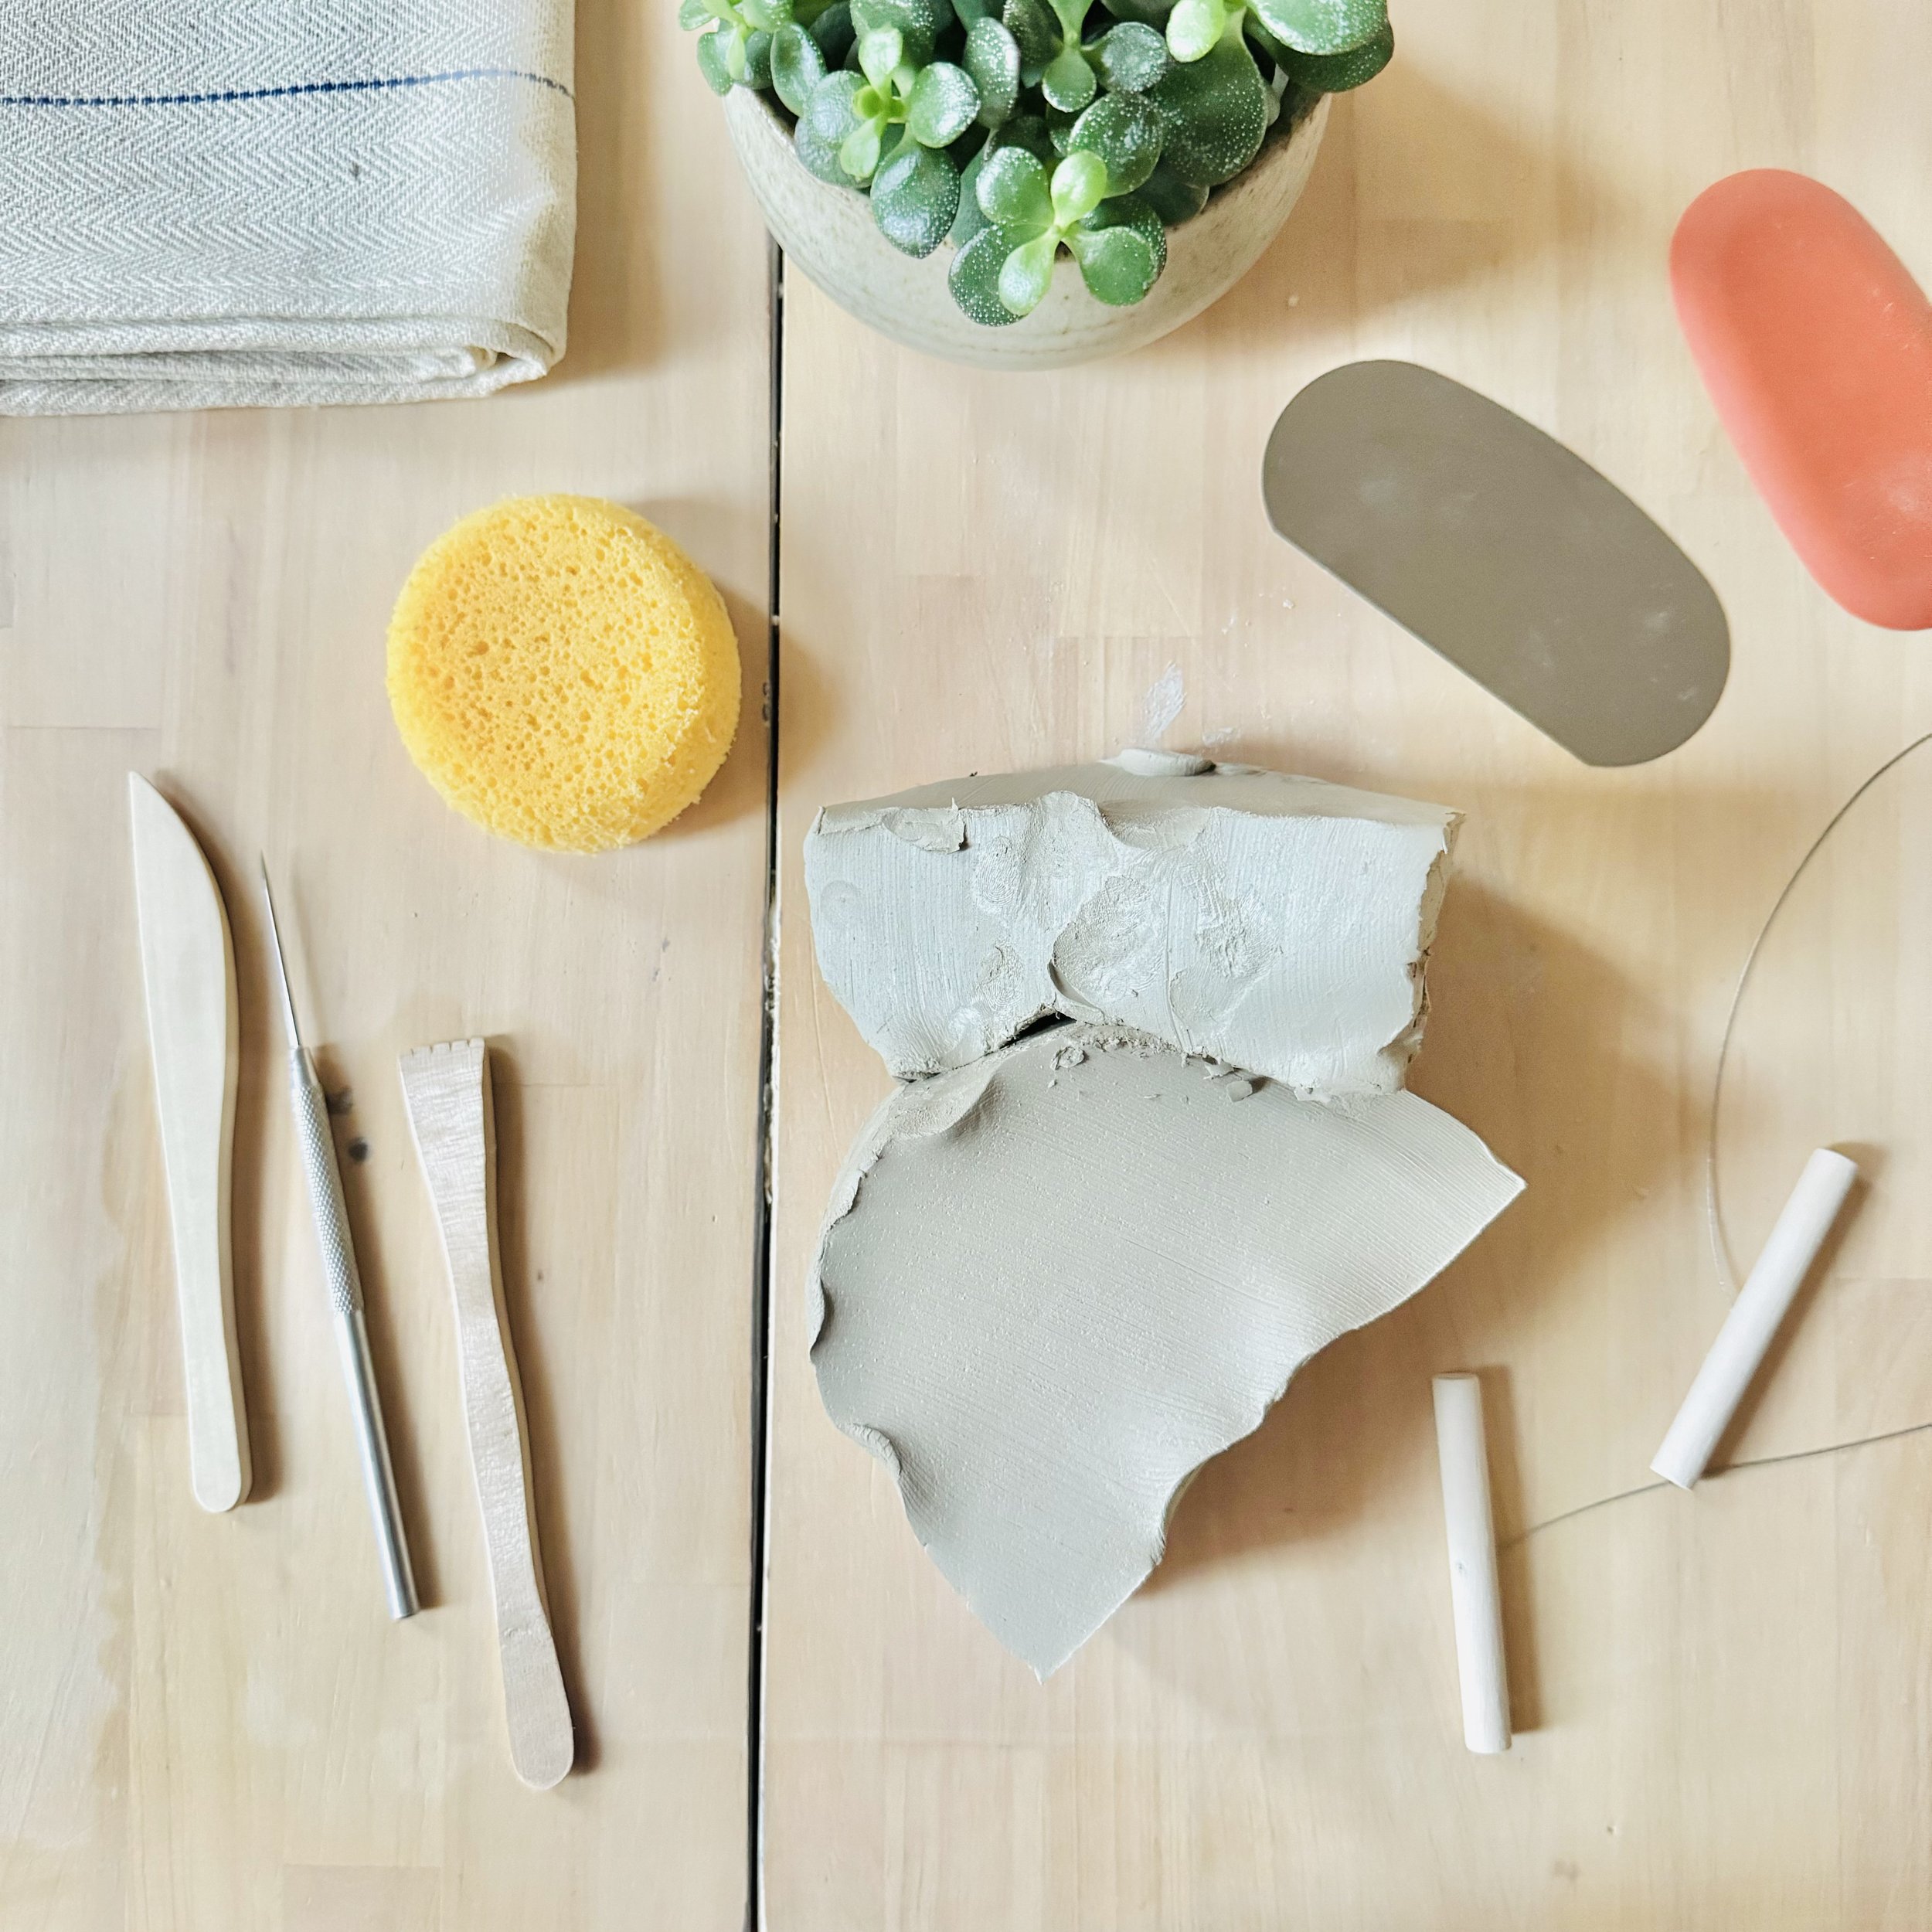
Clay Kit
Mold, shape, and decorate your masterpiece with Chisel Pottery's clay at home Kit.
Loaded with all essentials for embarking on your pottery journey, our kit is perfect for initiating a fresh hobby, a unique date night, or an enjoyable evening of creativity with clay.
Our clay kit allows you to craft anything you can imagine! As a starting point, we're sharing an easy and fun project: making a pinch pot ceramic vase. See video and scroll down for step by step instructions.
Prepare Your Workspace:
Surface Preparation: Begin by covering your work area with a canvas or cloth. This will keep the clay from adhering to the surface.
Water Source: Keep a small bowl of water within reach. You'll use this for smoothing and joining the clay pieces.
Prepare the Clay:
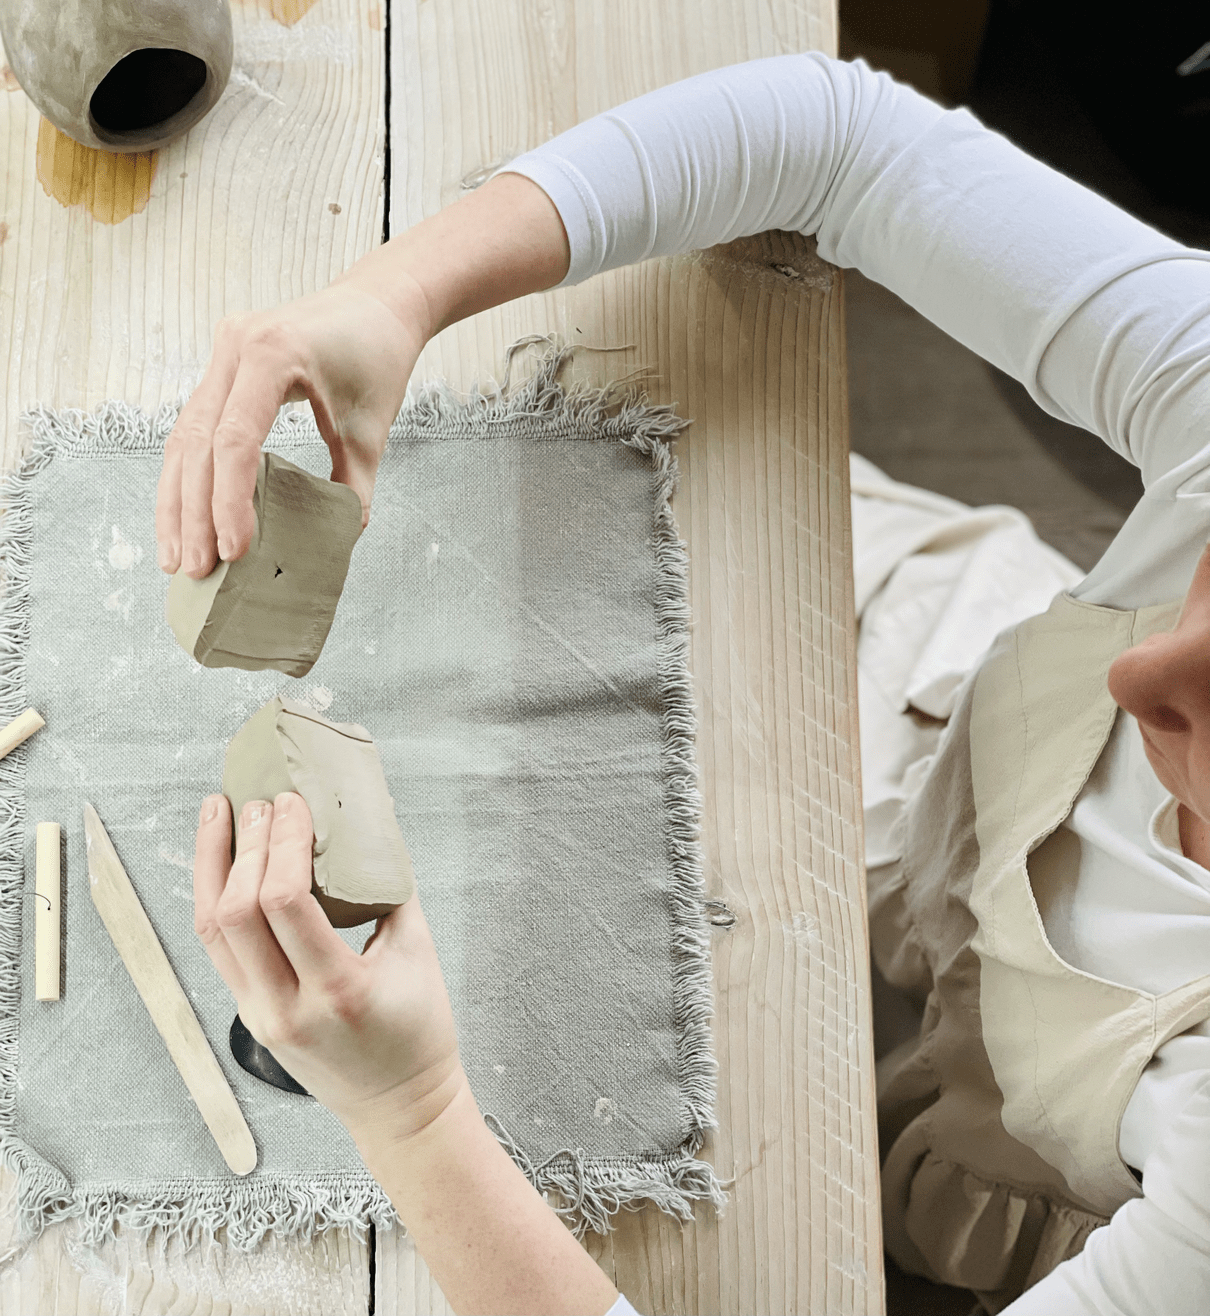
Kneading: Work the clay with your hands to eliminate any air bubbles, enhancing its flexibility.
Forming the Base: Shape the kneaded clay into a smooth, round ball as your starting point.
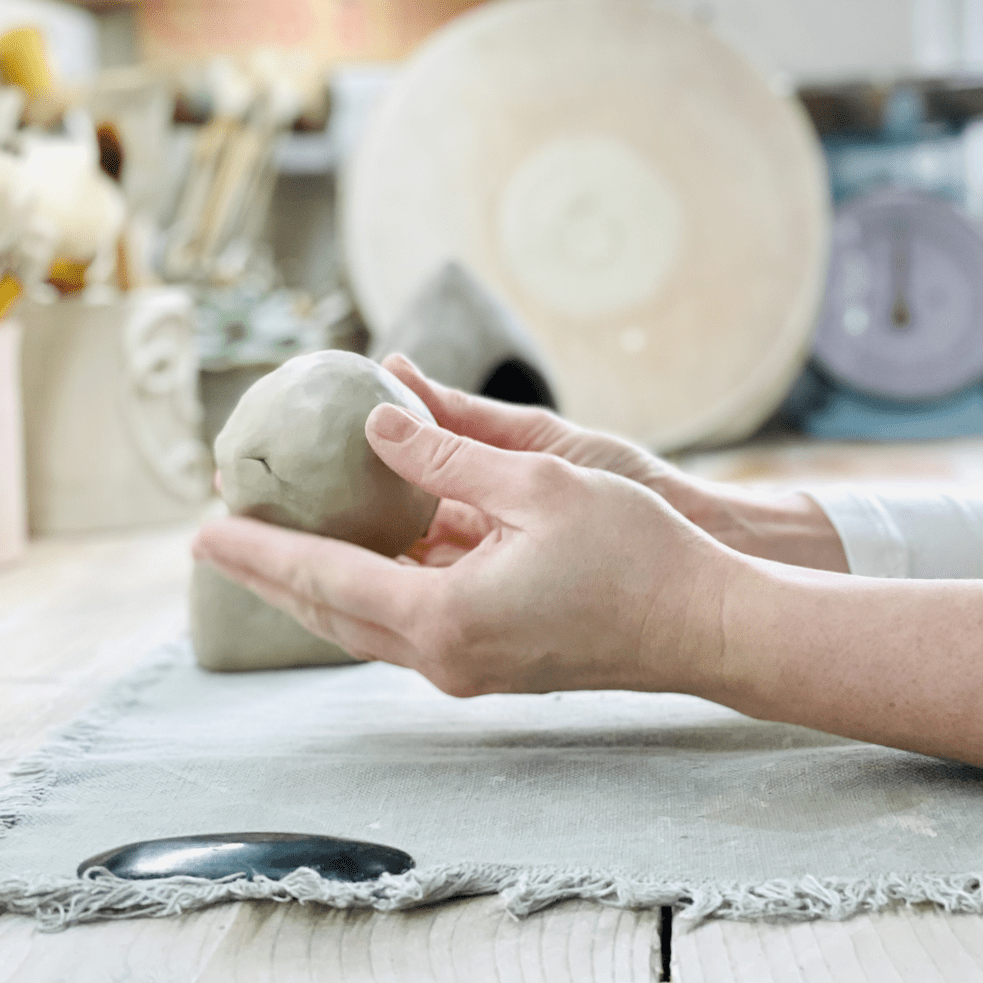
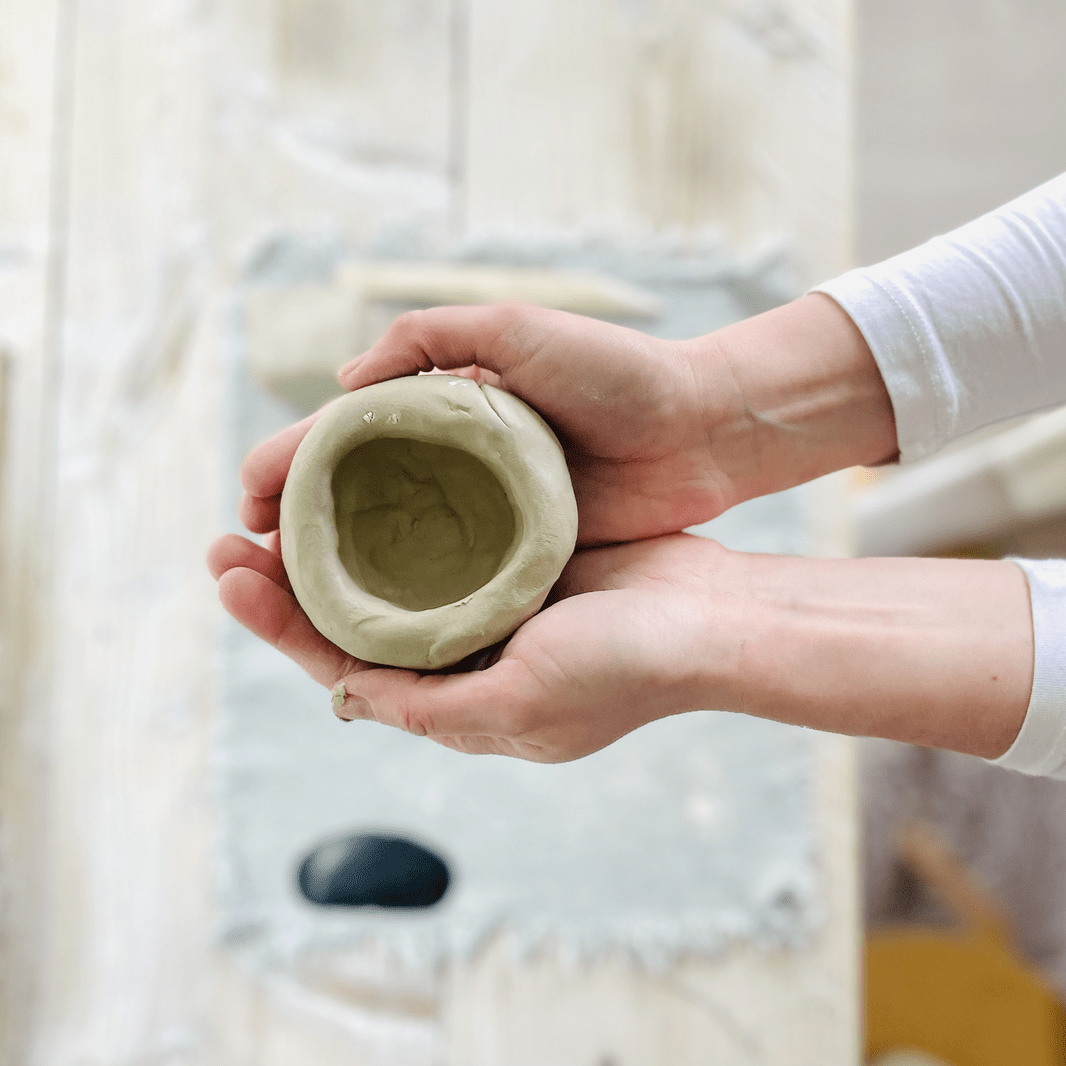
Start Pinching:
Creating the Opening: With the clay ball in one hand, press down into the center with your thumb to form an initial hole.
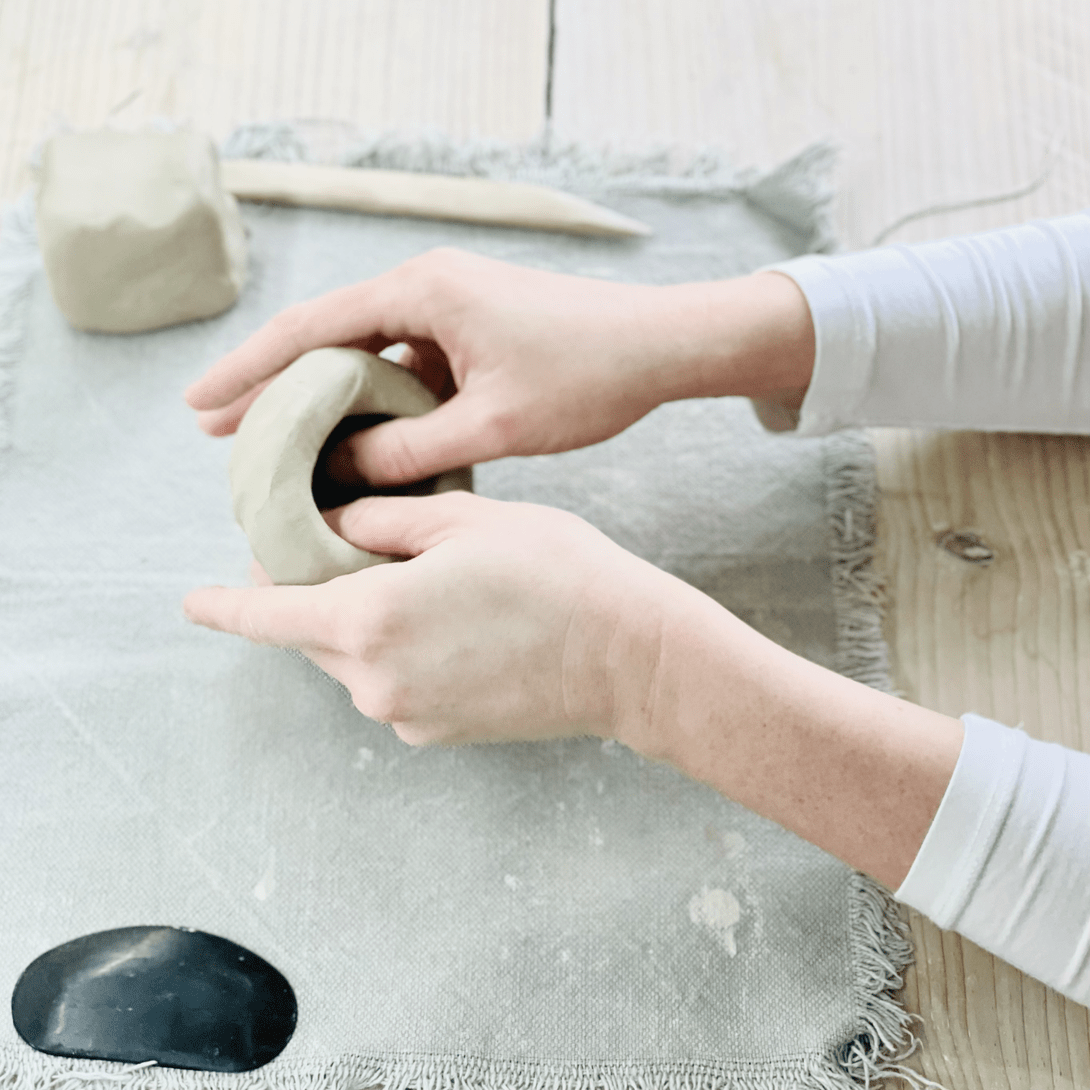
Shaping: Use your thumb and fingers to pinch and rotate the clay, carefully expanding the hole and sculpting the sides to your desired thickness and shape.
Uniformity: Aim for consistent wall thickness throughout your pinch pot to prevent weak spots that could fail during drying or firing.
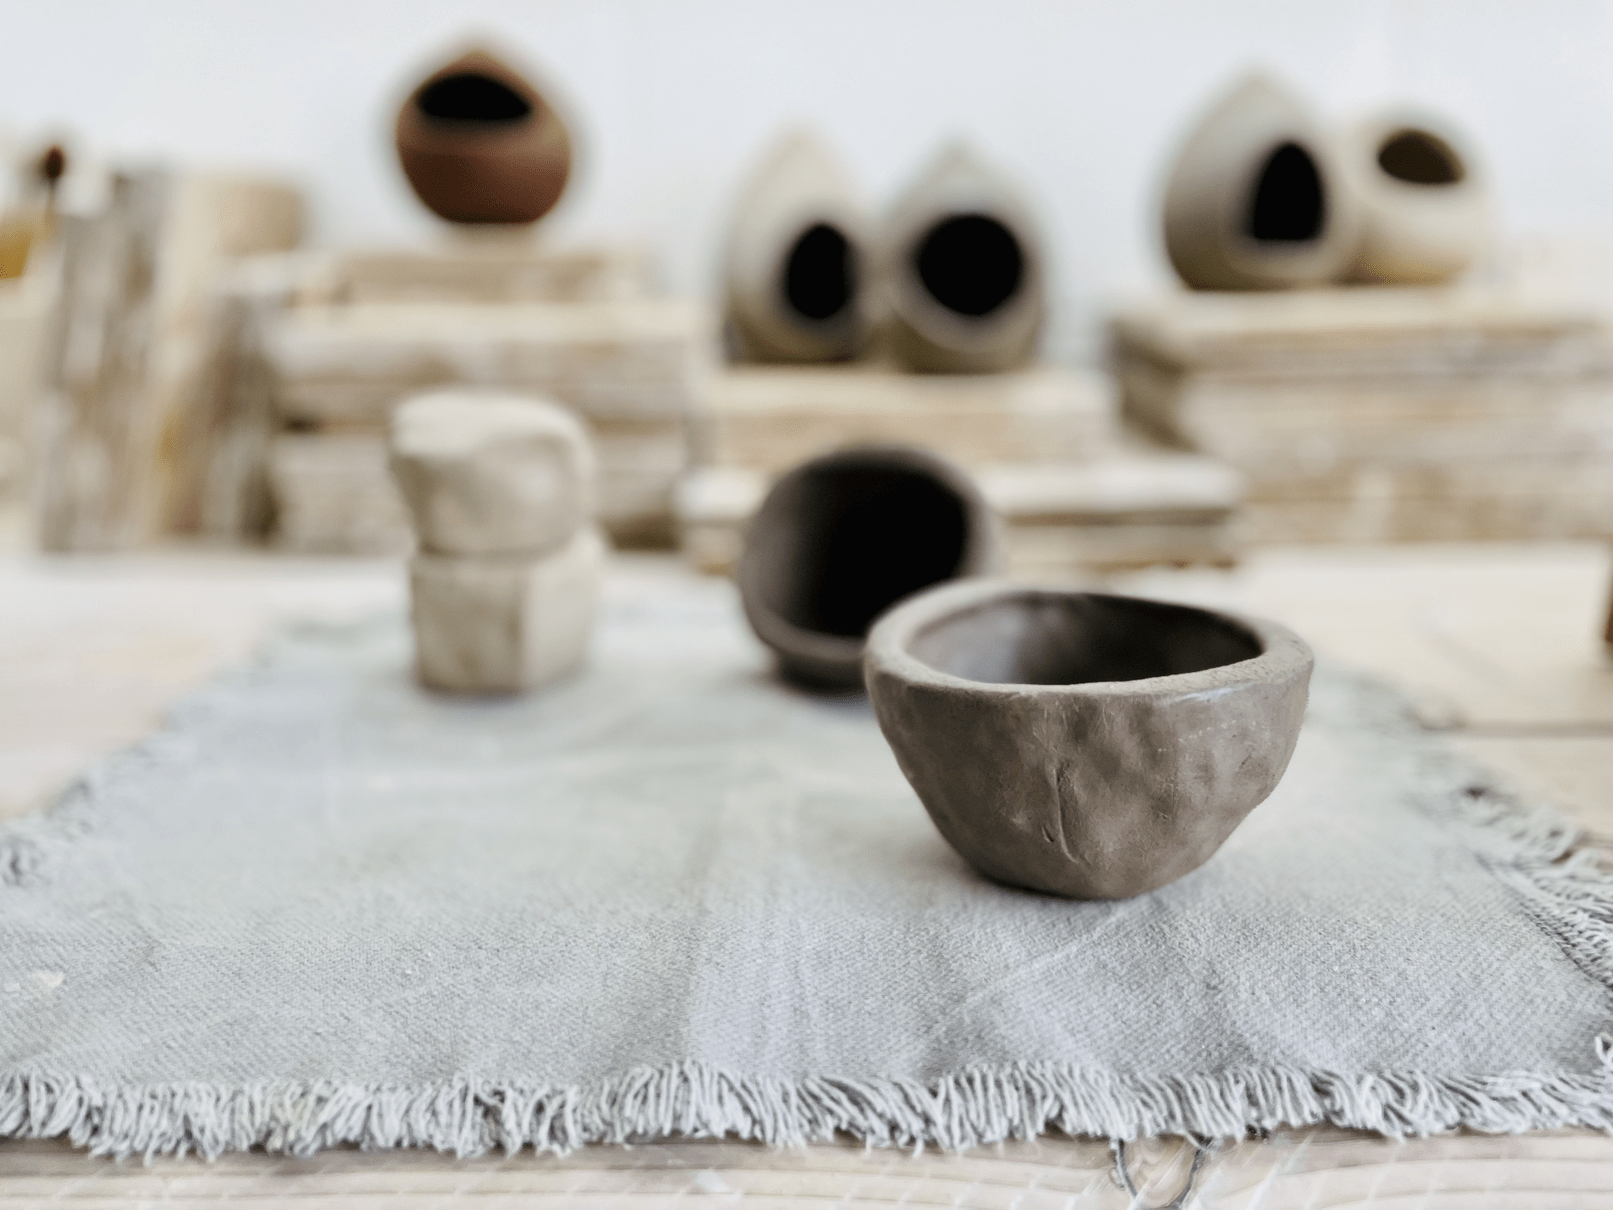
Final Touches:
Shape and Smooth: Continue the pinching and shaping process until satisfied with the pinch pot's form. Then, use your fingers or a damp sponge to smooth out both the interior and exterior surfaces.
Create a Base: For a level base, softly press the bottom against your work area to flatten, ensuring stability.
Decorate (Optional): Embellish the surface with patterns or textures using carving tools or other items for added personality.
Drying: Let the pinch pot air dry thoroughly, which might take several days depending on clay thickness.
Bisque Firing: Once completely dry, bisque fire your creation in a kiln according to the clay's specific instructions.
Glaze (Optional): For a splash of color, apply a glaze to your pinch pot before undergoing a final firing in the kiln.
Introducing Our Exclusive Pottery Finishing Service
If you're eager to take your masterpiece to the next level, we offer an exciting add-on service for glazing and firing.